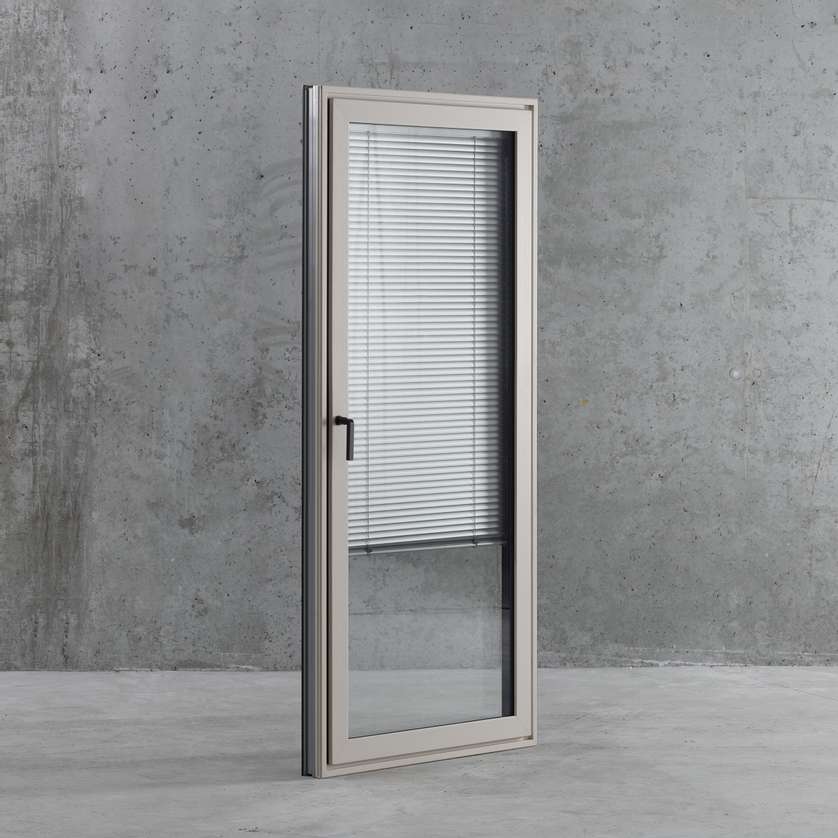
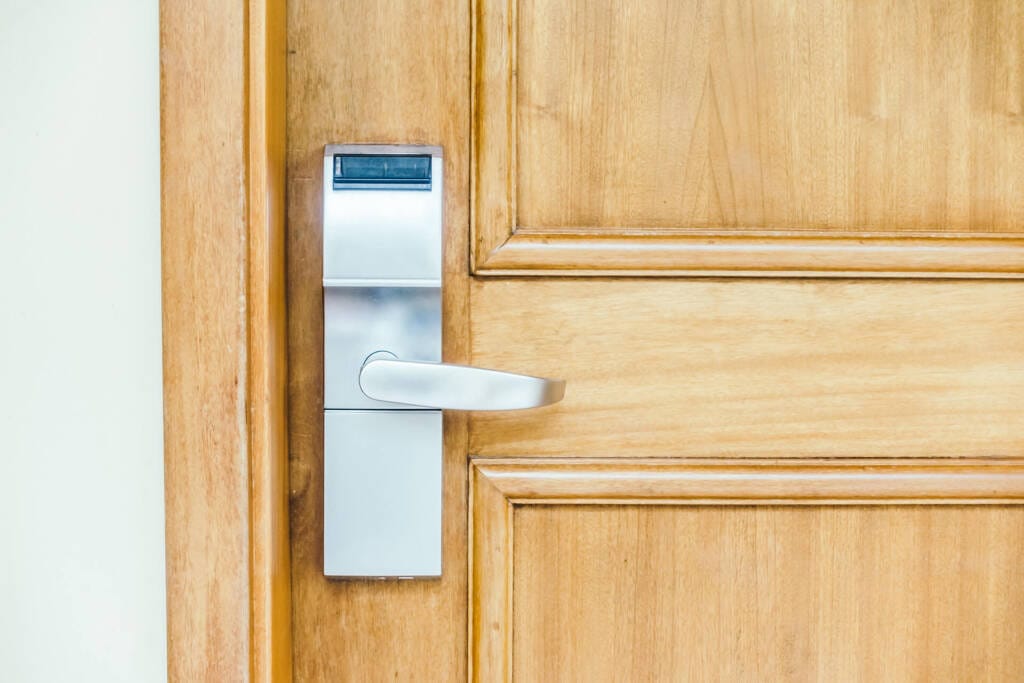
Door and window handles are essential components of your home’s security and functionality. Over time, however, wear and tear can lead to loose, stiff, or broken handles, affecting not just the look of your home but also its security. If you’ve noticed issues with your door or window handles, don’t worry—repairing them is often a straightforward task. In this blog, we’ll guide you through the steps of repairing door and window handles while highlighting some common problems and solutions.
Common Issues with Door and Window Handles
Before jumping into repairs, it’s helpful to understand some of the most common issues you might face with your door and window handles:
- Loose Handles
Over time, screws securing the handle to the door or window may loosen, causing the handle to wobble or feel unstable. This is a common issue that can be easily fixed with the right tools. - Stiff or Jammed Handles
Handles that are difficult to turn or don’t fully engage the locking mechanism can be a sign of internal wear or dirt buildup. Lubrication or minor adjustments may be required to restore smooth operation. - Broken or Cracked Handles
Physical damage, such as cracks or breaks in the handle, will likely require a full replacement rather than a repair. - Misalignment
If the handle doesn’t seem to engage with the latch or lock properly, it could be due to alignment issues between the handle and the locking mechanism.


Tools You’ll Need for Handle Repairs
Before you start repairing your door or window handle, make sure you have the following tools on hand:
- Screwdriver (usually Phillips or flat-head)
- Lubricating spray (such as WD-40)
- Replacement screws (if needed)
- Handle replacement kit (if the handle is broken beyond repair)
- Allen key (for some types of handles)
Step-by-Step Guide to Repairing Loose Handles
- Remove the Handle Cover Plate
Many door and window handles have a cover plate that conceals the screws. Use a screwdriver to gently pry off the cover plate. Once removed, you’ll see the screws that hold the handle in place. - Tighten the Screws
Use a screwdriver to tighten the screws that secure the handle. Make sure they are snug but not overly tight, as overtightening can strip the threads or damage the handle. If the screws are damaged, replace them with new ones of the same size. - Reattach the Cover Plate
Once the handle is secure, replace the cover plate. Test the handle to ensure it’s now stable and functioning properly.
Fixing Stiff or Jammed Handles
Reinstall the Handle
After cleaning and lubricating, reattach the handle and test it to ensure it operates smoothly.
Remove the Handle
Similar to the process above, start by removing the cover plate and unscrewing the handle from the door or window.
Inspect the Lock Mechanism
Sometimes, dirt or debris can accumulate in the lock mechanism, causing the handle to become stiff. Use a soft brush or cloth to clean any visible debris.
Apply Lubrication
Apply a lubricating spray to the moving parts of the handle and lock mechanism. Be sure to use a lubricant that’s safe for metal parts. This should help loosen any stiff components and restore smooth operation.

Replacing a Broken Door or Window Handle
If your handle is broken beyond repair, a replacement is necessary. Here’s how to do it:
- Remove the Old Handle
Unscrew and remove the old handle following the steps mentioned above. Take note of the type and size of the handle so you can purchase a suitable replacement. - Install the New Handle
Once you have the new handle, align it with the existing holes on your door or window. Secure it in place with the screws provided in the replacement kit. - Test the New Handle
After installation, test the handle to ensure it works smoothly and locks properly.
Maintaining Door and Window Handles
Regular maintenance can prevent many of the common problems associated with door and window handles. Here are a few tips:
- Lubricate Regularly: Apply a light coating of lubricating spray to the moving parts of the handle and lock mechanism every six months to ensure smooth operation.
- Check for Loose Screws: Periodically check the screws that hold the handles in place, and tighten them if necessary.
- Clean Handles: Wipe down door and window handles with a damp cloth regularly to prevent the buildup of dirt and grime, especially in areas with high humidity or dust.
When to Call a Professional
If you’ve tried the above steps and your door or window handle is still malfunctioning, it may be time to call a professional. In some cases, the problem could be with the internal locking mechanism or the alignment of the door or window itself. A professional can diagnose and fix more complex issues, ensuring the long-term security and functionality of your doors and windows.
Conclusion
Repairing your door and window handles is often a simple task that can be completed with basic tools and a bit of time. Whether you’re tightening loose screws, lubricating a stiff handle, or replacing a broken one, the steps above will guide you through the process. Proper maintenance of your handles will ensure they last longer and continue to provide security and ease of use for your home.
If you need assistance or replacement parts, our team is here to help. We offer a wide range of door and window handles and repair kits to suit your needs. Contact us today for expert advice and high-quality products.